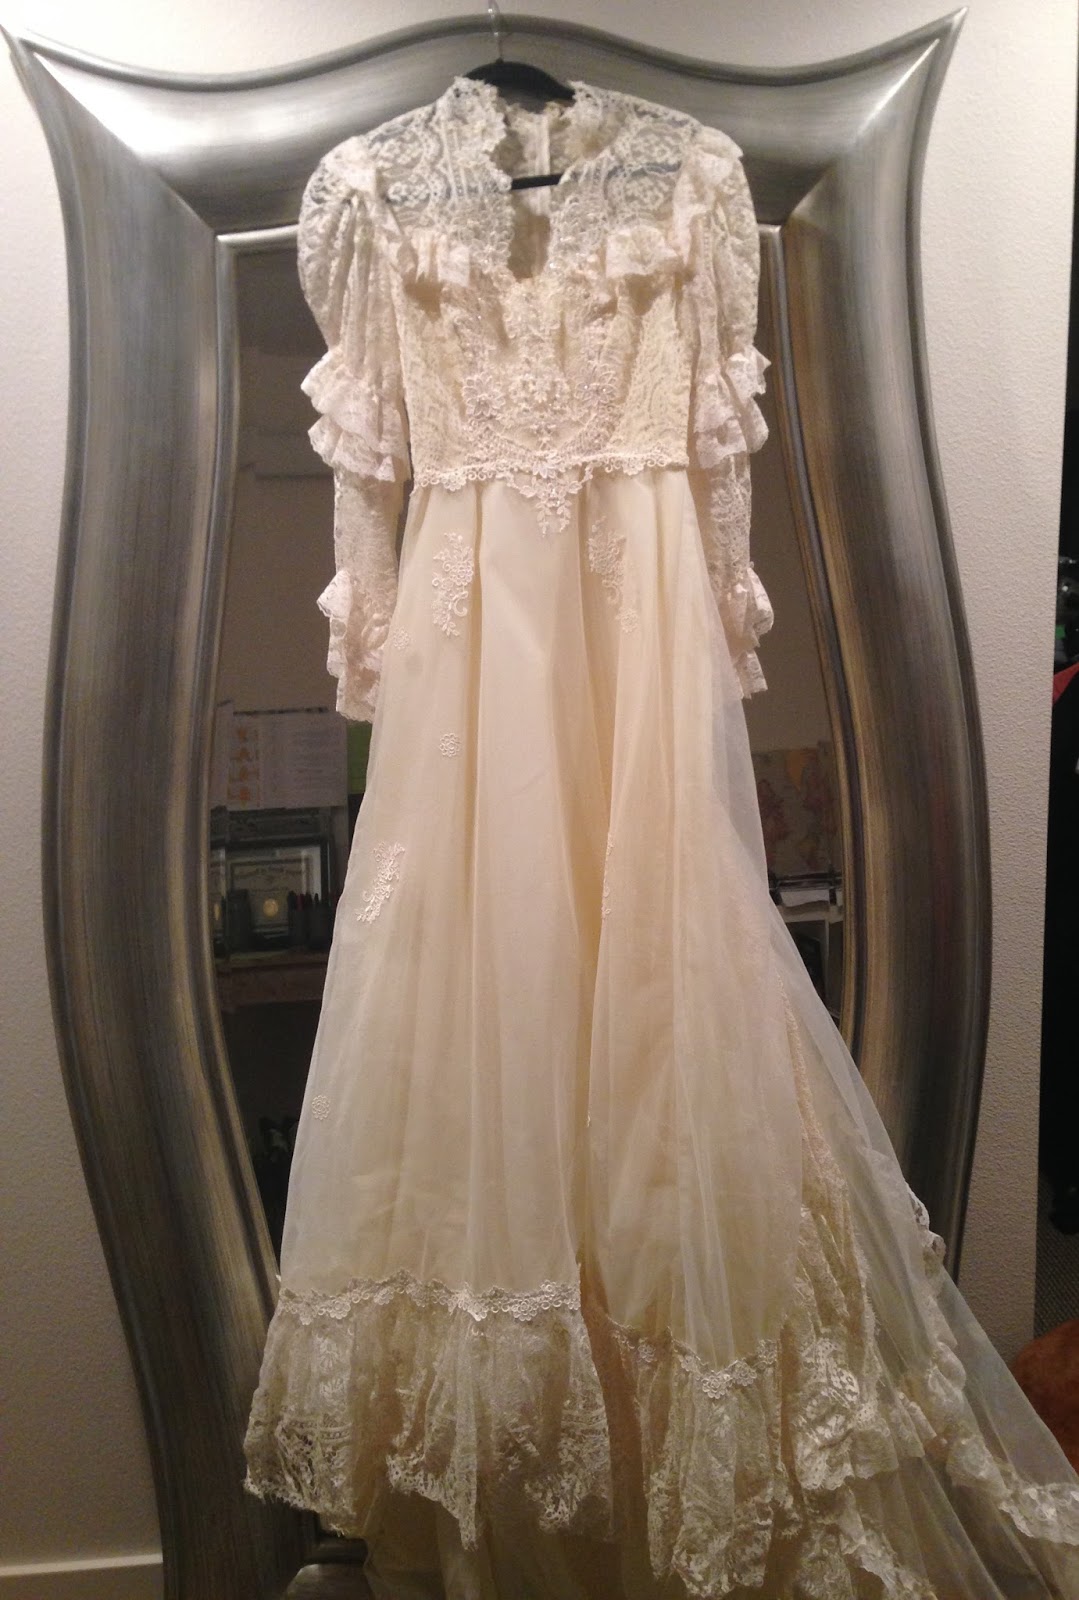
My daughter Ashley, has a good friend she has had since they were teenagers. Such a beautiful, spirited and talented woman Tasha is! She was planning her wedding and really wanted to use a dress that had been worn by her step-dad's first wife who had passed away from cancer. I told her to bring it to me so I could look at it and see if it was able to be altered the way she wanted. I made sure that if I was to start cutting and changing this dress, that she had a back-up! It pretty much made me want to run away thinking about ruining someone's dress. She assured me that she would love to wear this if it worked, however she could go and get one as well. She wasn't attached to the dress. That helped! So here was the first picture I received from her showing me this dress..... My first reaction is whoa! That is a lot of, well, just everything.
So I met with her and my daughter and started really looking at the dress and the seams and how it was all attached. This dress was handmade which made anything I do so much simpler since I'm a seamstress and understand how a garment is constructed.

First thing to do is get rid of the sleeves and all the extra polyester lace that is draped all over the bodice and back.
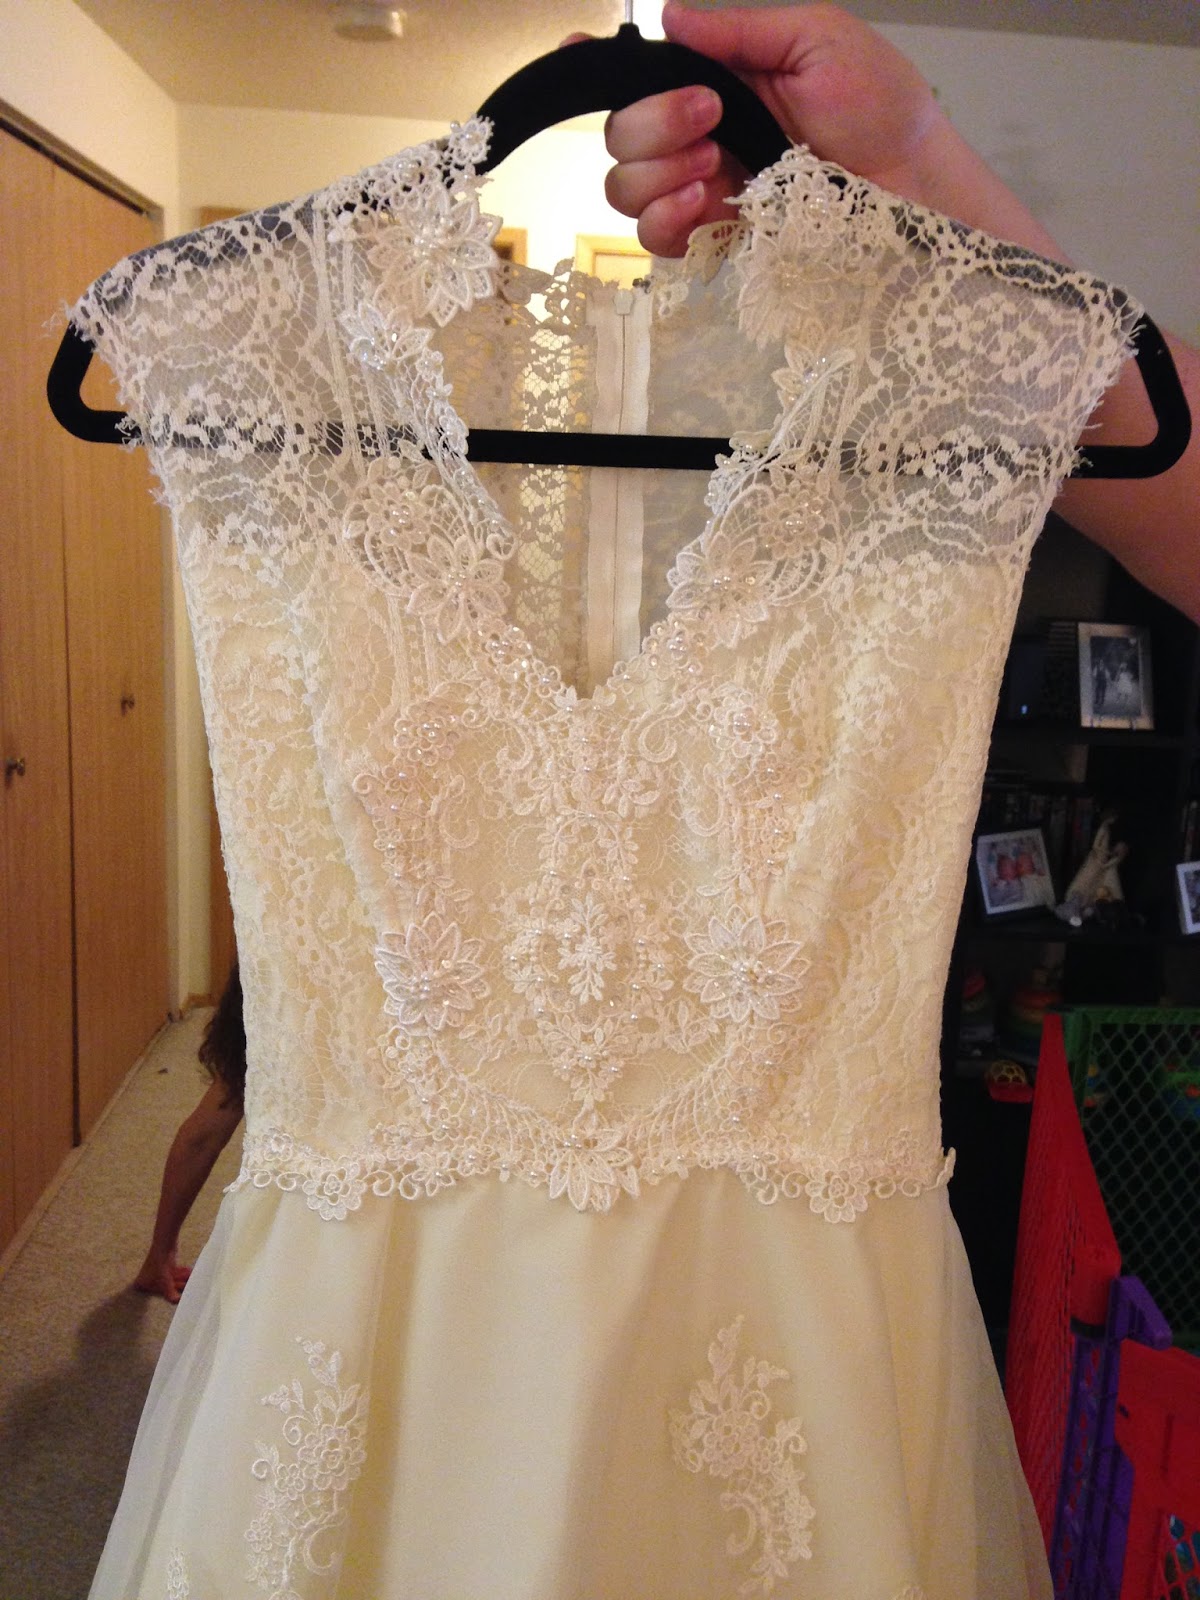 So the sleeves and lace are off. It looks so much better already! Now to start doing all the things that will make it her own dress and how she sees it.
So
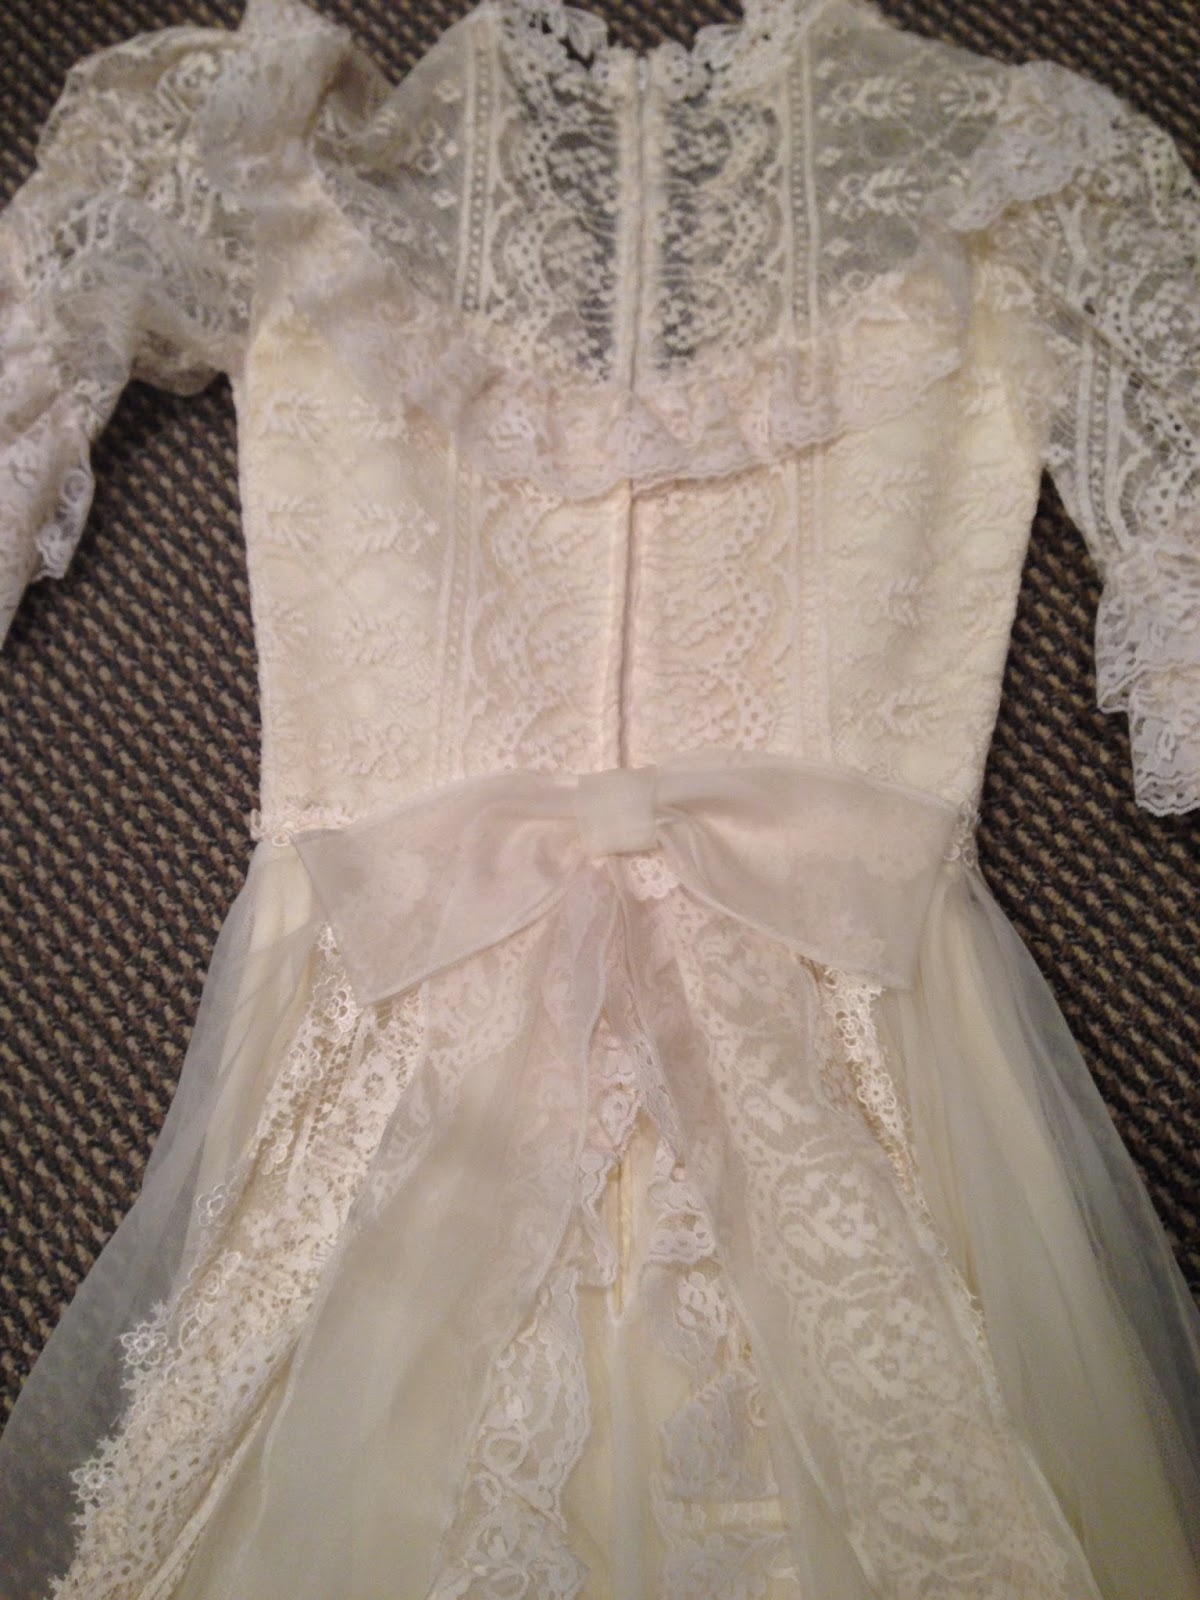
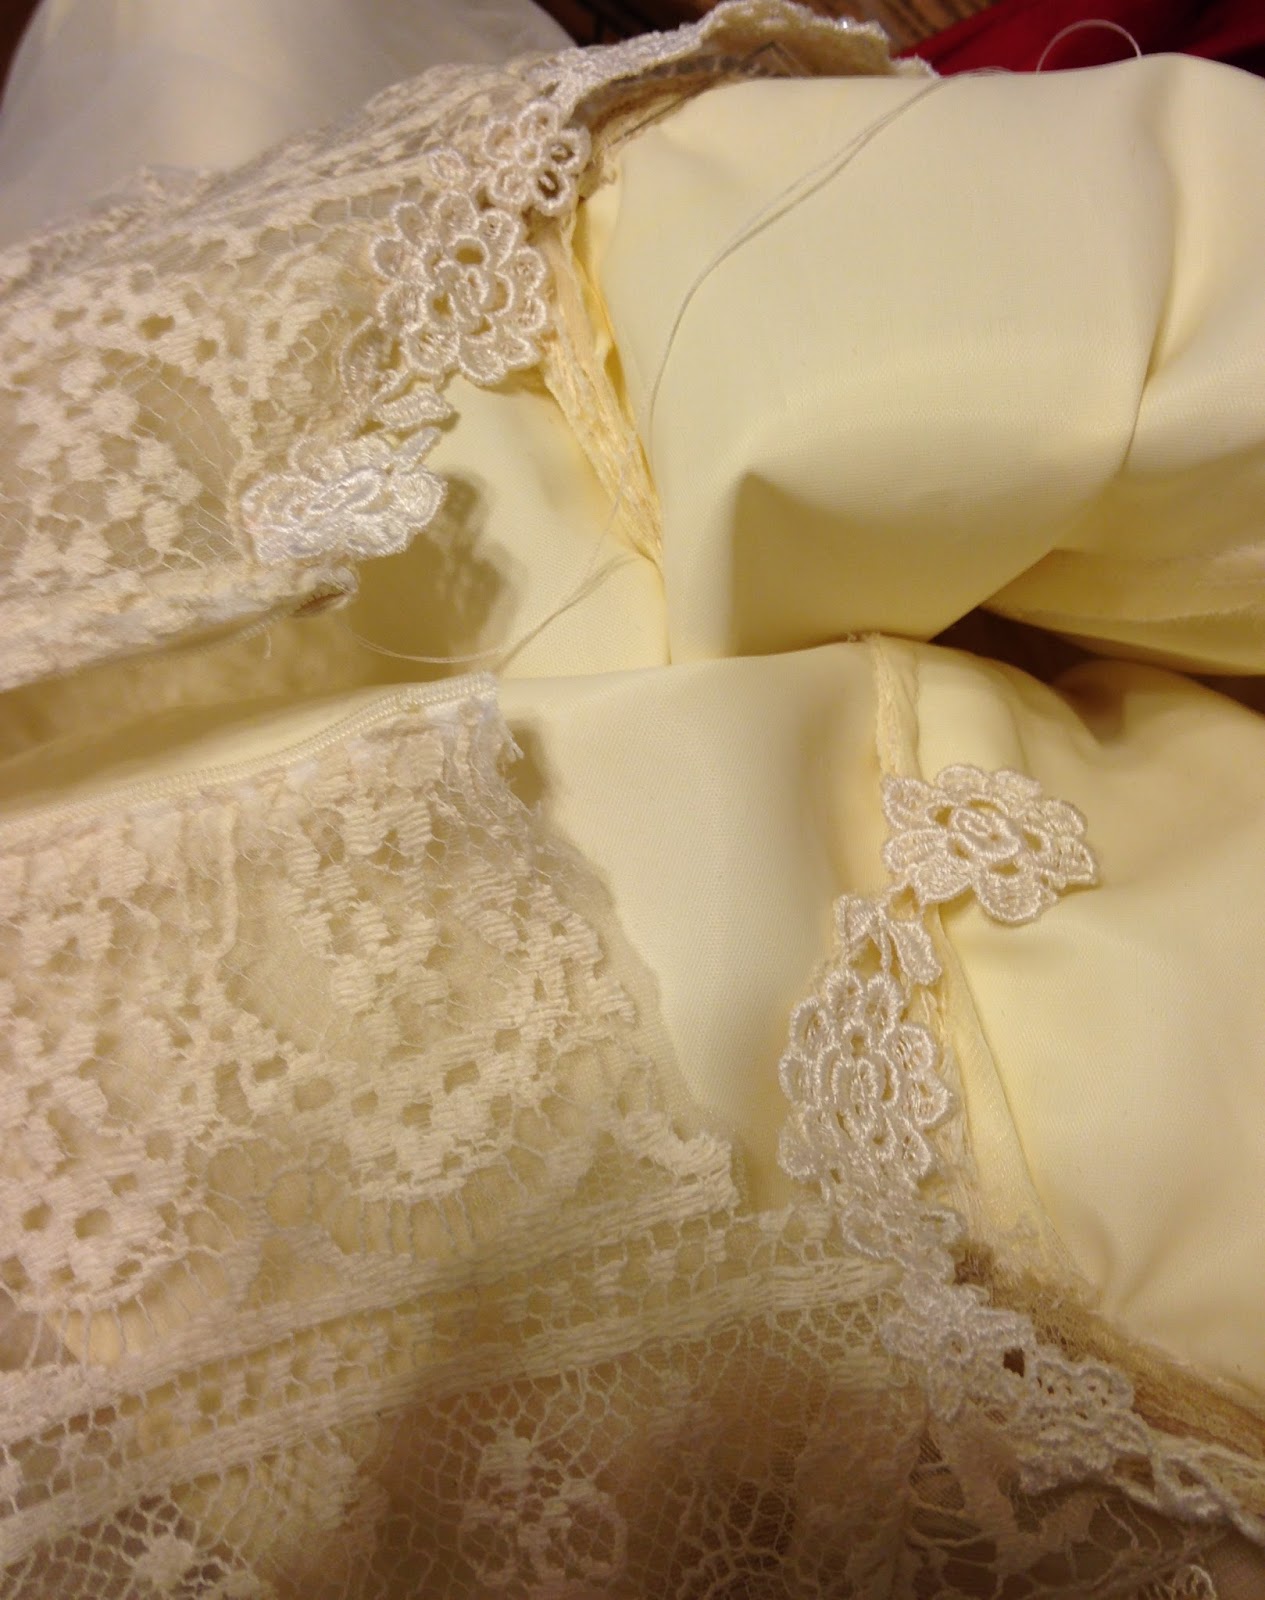
here is one of her ideas of trying to make this dress the way she sees
it...edges were just kind of tucked in and around in an attempt to play
with it. I can already see the lace that will have to be oh-so-carefully
cut off. I won't lie, my heart rate went up just thinking about taking scissors to that lace. Before cutting, I would sit and just stare at the dress and what I needed to do. I would go over it in great detail in my head from start to finish before ever touching it. Probably looked hilarious to anyone watching as I just sat, not moving, staring at this dress.
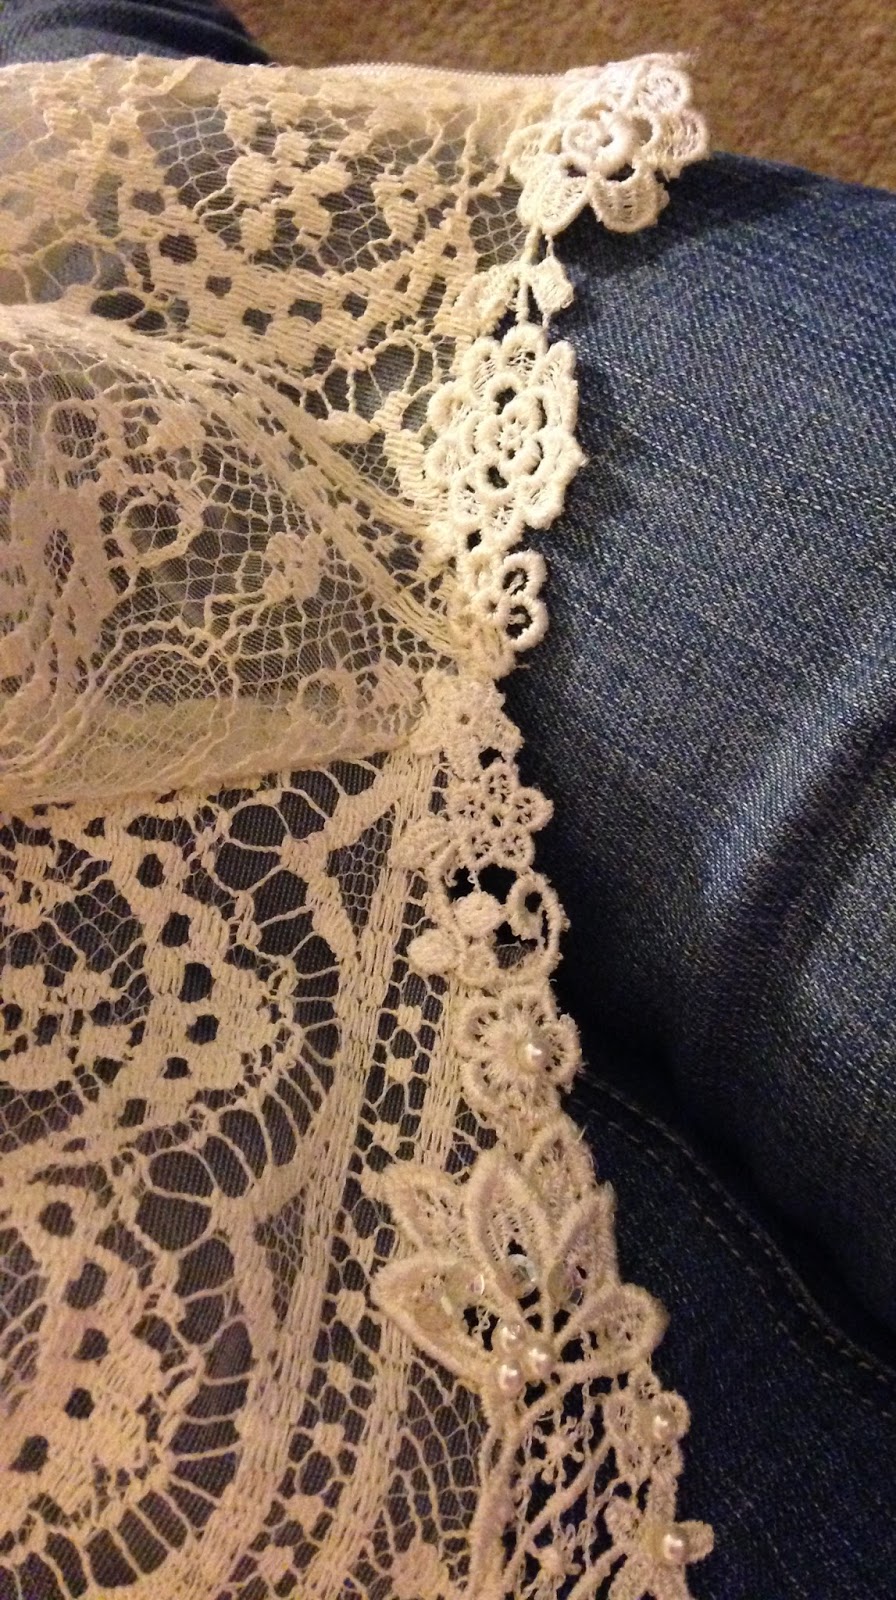
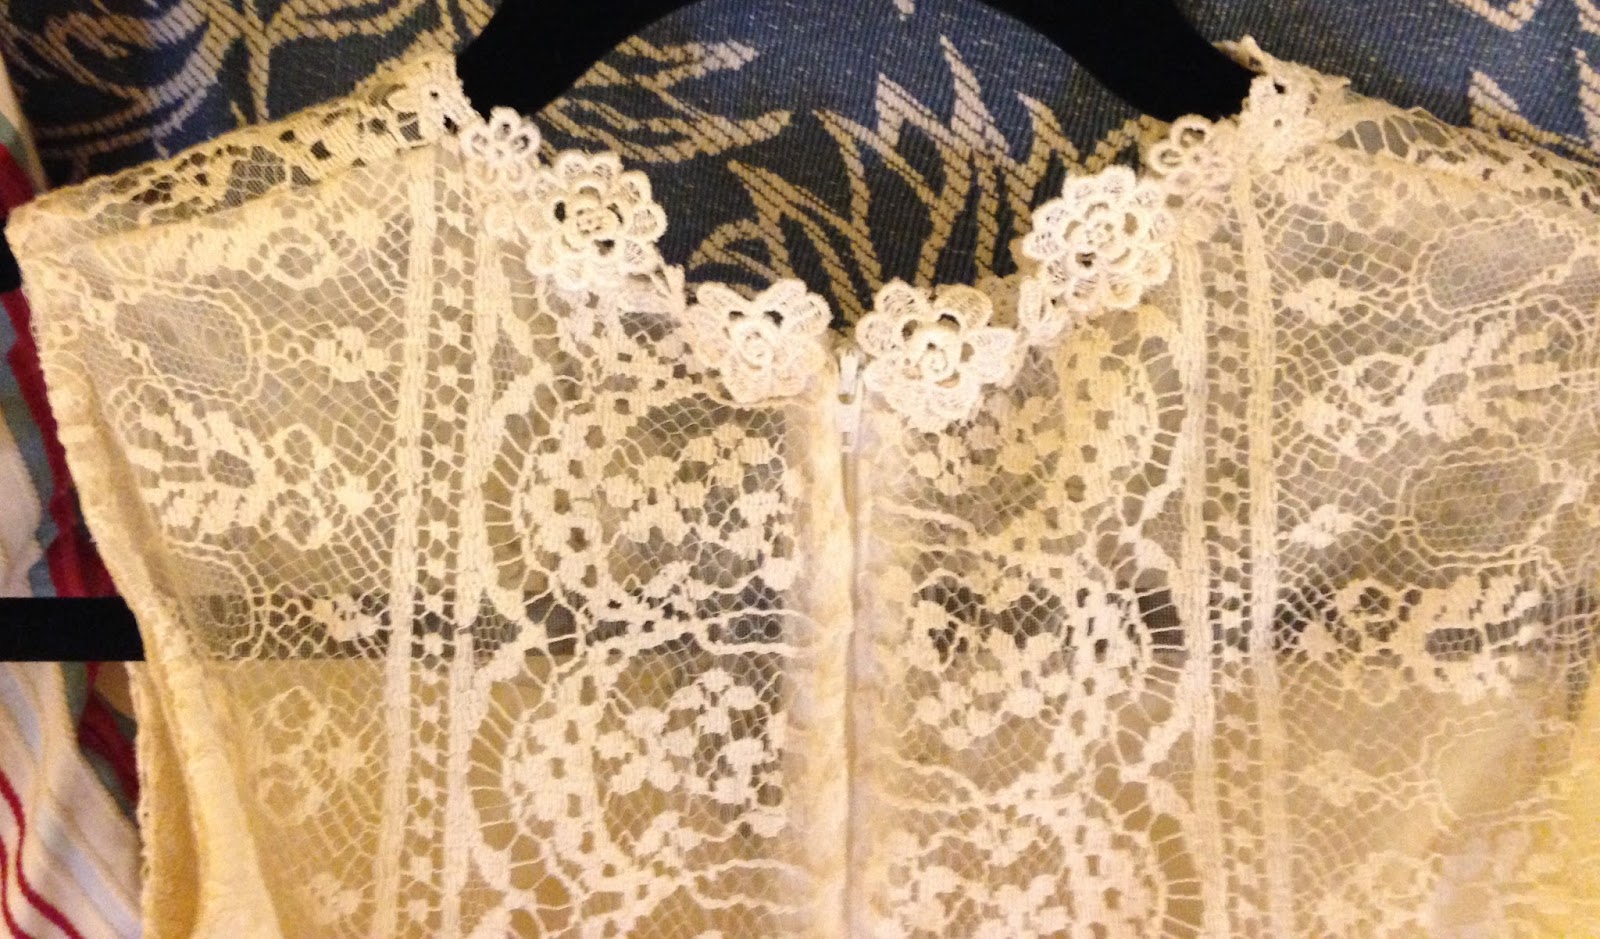
So I just started to carefully cut off all that extra lace flowers around her neck. It came off in two separate pieces, one on each side, which was perfect as I knew I was going to have to use it at some point as I was going to have to shorten the shoulder seams. The only way to do that was to cut the lace flowers apart on her shoulders, next to her neck, make the seams larger and pull that dress up.Then I had to replace the lace flowers around her neck making it look like one piece of lace. It worked perfectly. You can't even tell the lace flowers had been cut.
So
after fixing her shoulder seams and removing lace flowers around her throat, I
used some beige bias tape I made, stitched that on, turned it inward and
hand stitched it down, finishing her sleeveless arm edges.


I wanted her to try on the dress and see how it looked. They took it to a bridal store as they were looking for other items she needed and she tried it on there. My daughter snapped pictures showing me what still needed to be done.
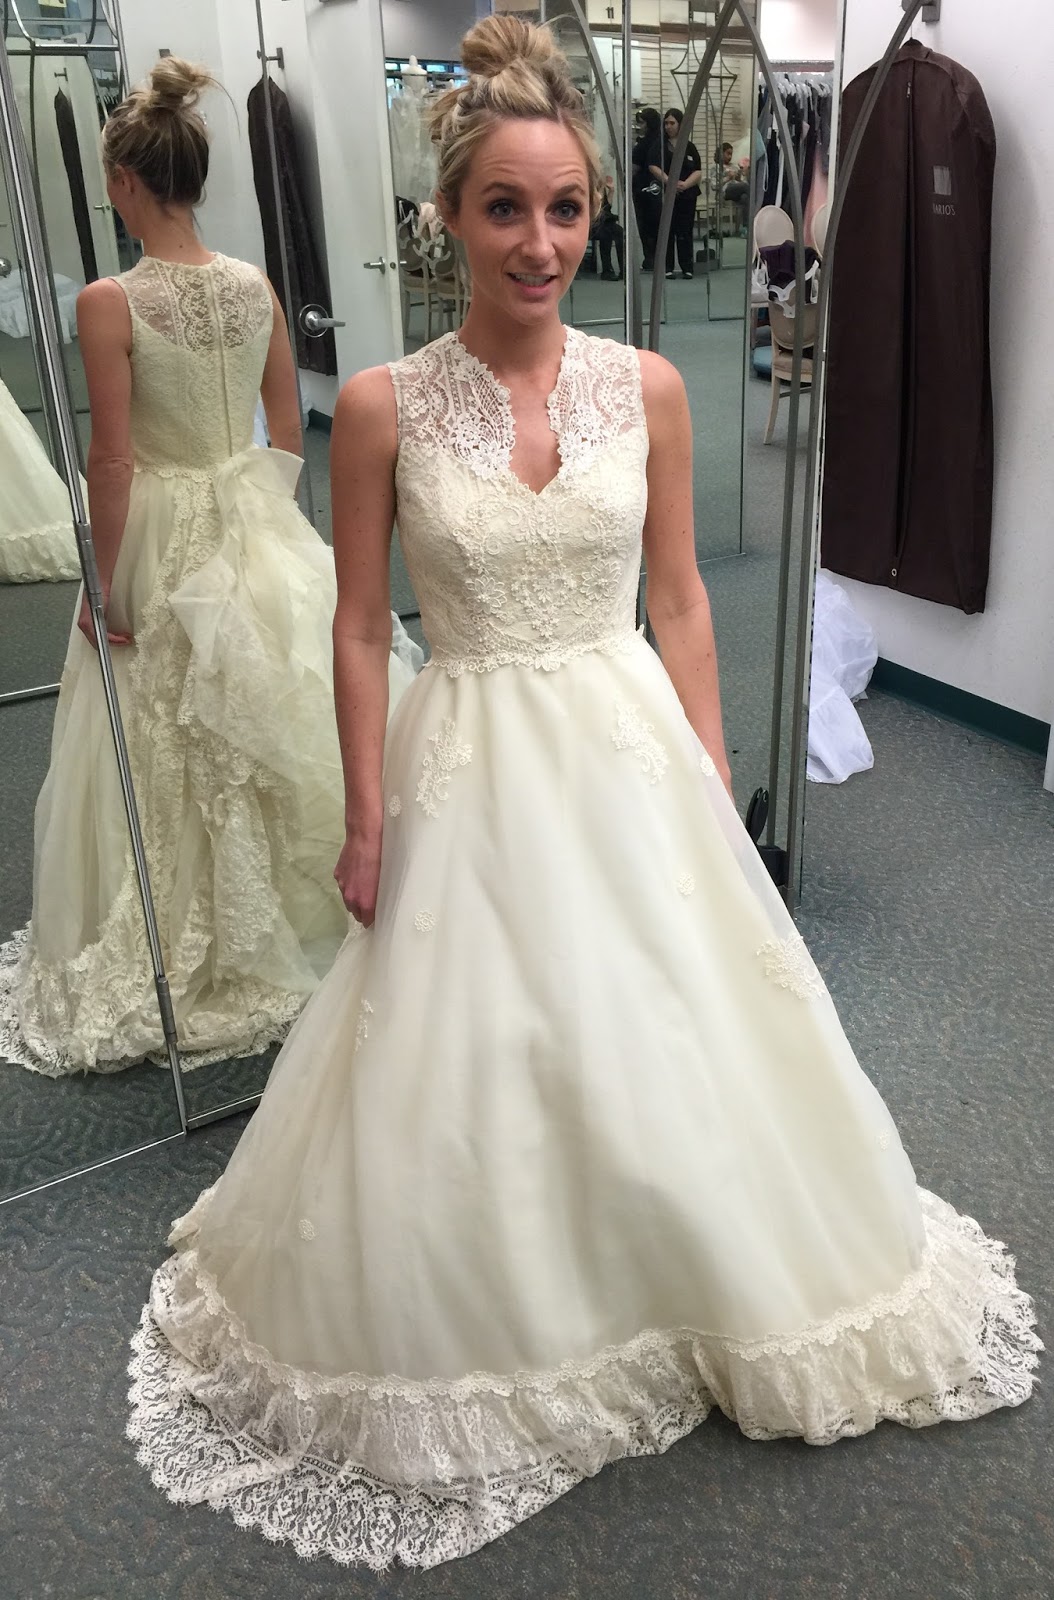
Tasha is so cute, seriously ridiculous!
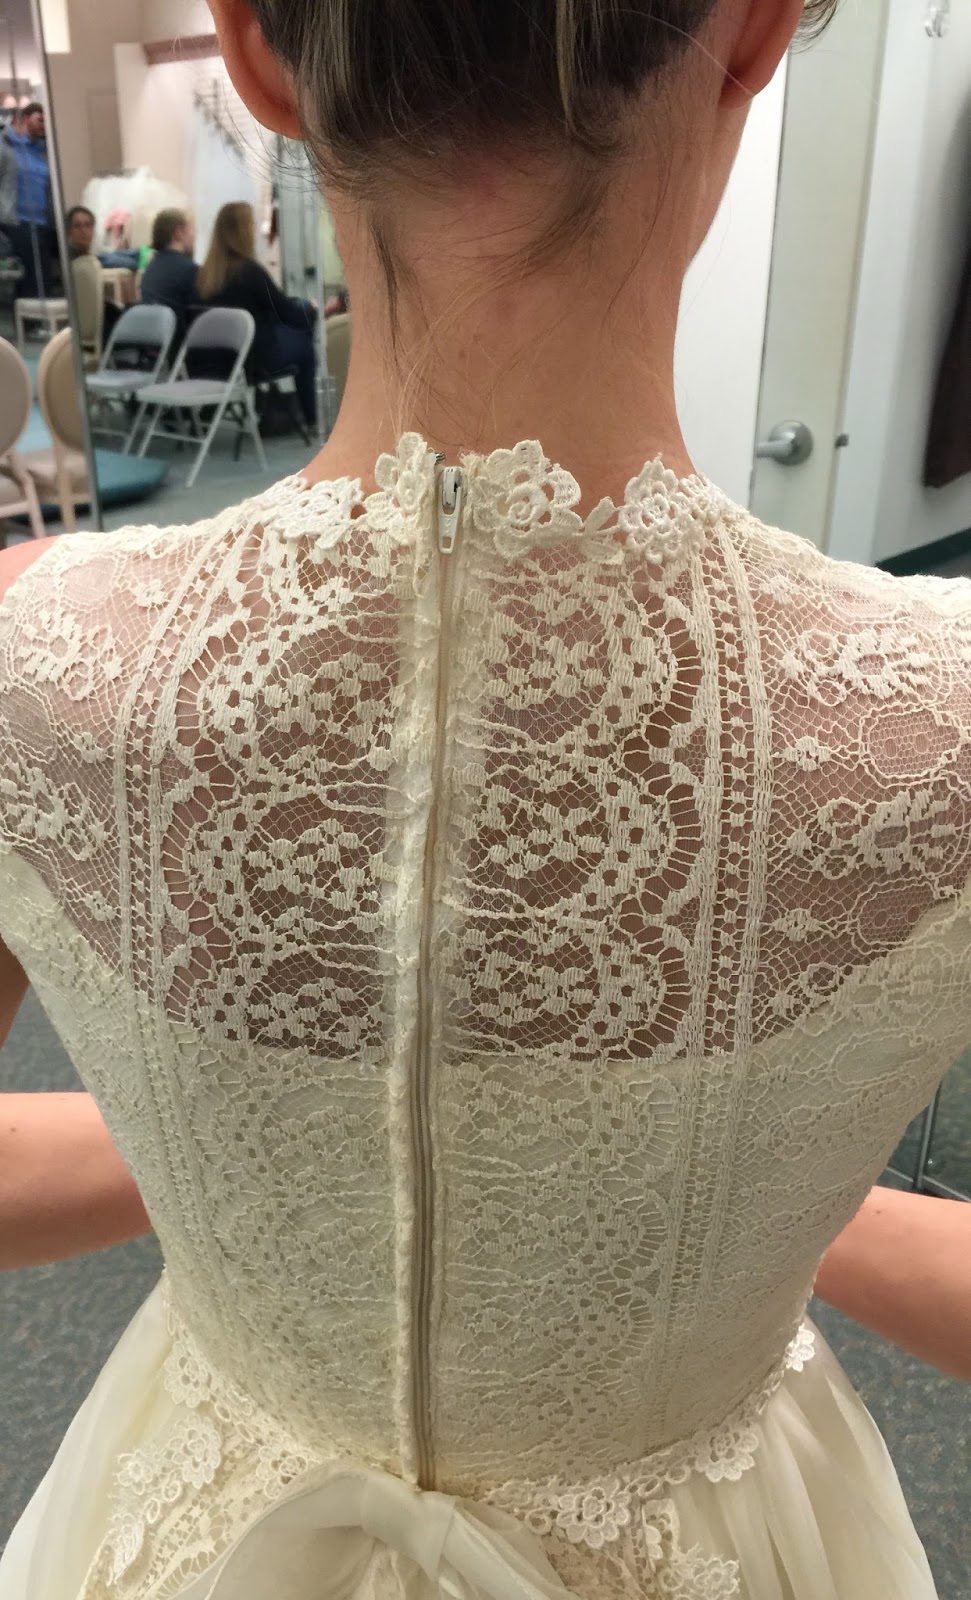
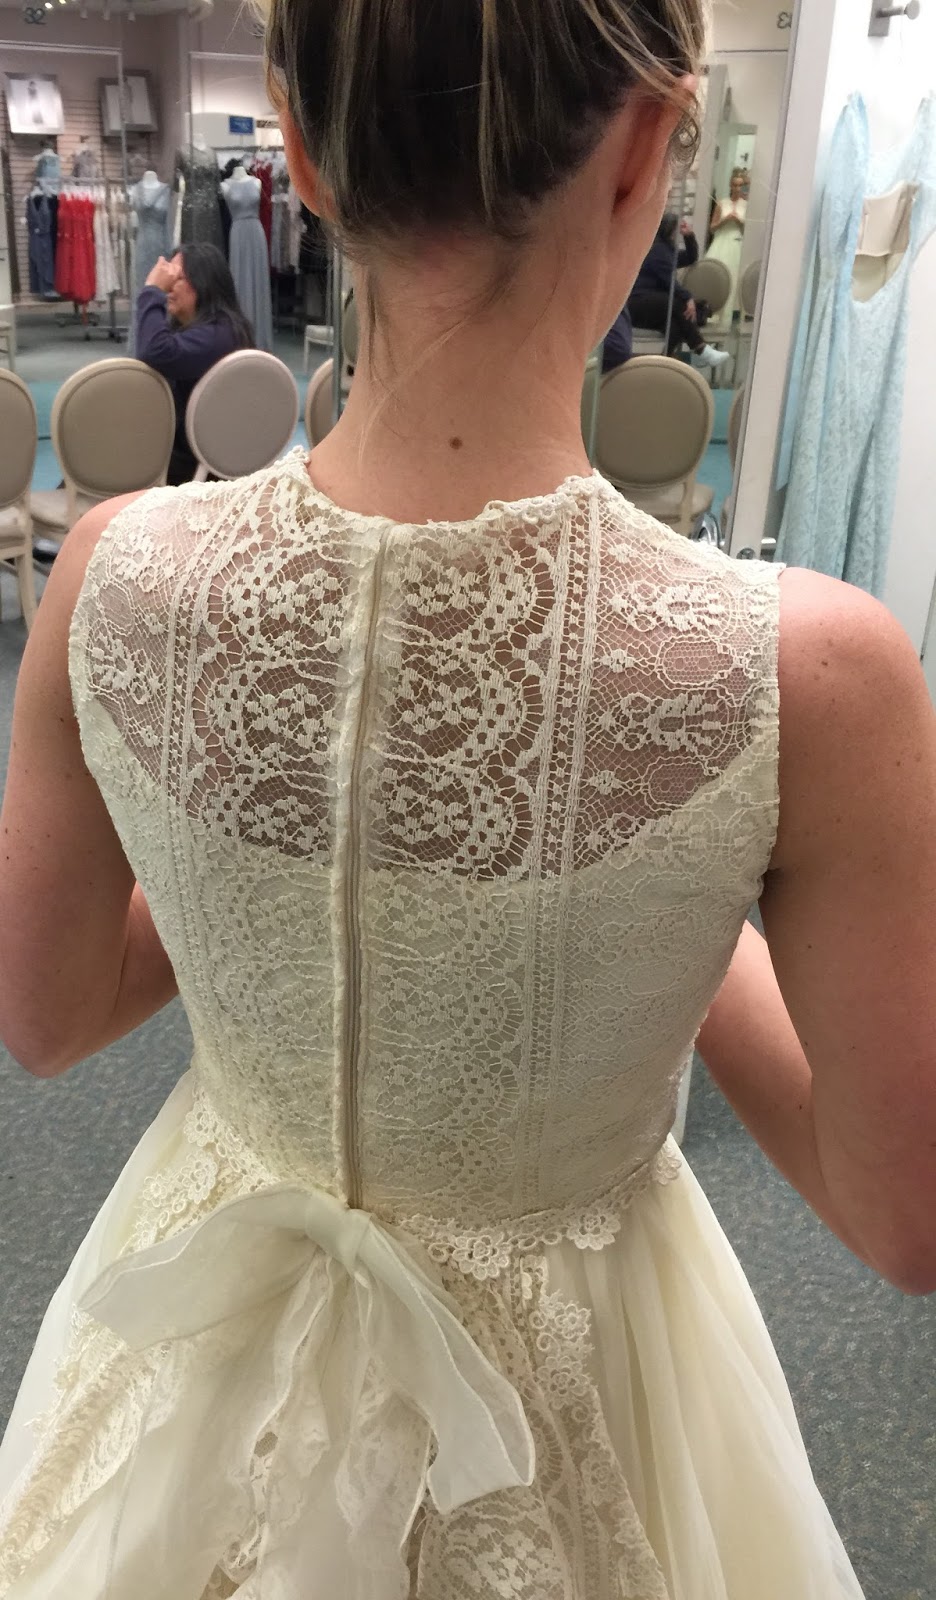
So back to work. Fixing the zipper gave me pause. I can't just tuck it under since it's a zipper and there is already a lace flower overlay. I really did some research before attempting this. And then I decided I would cut it, making my own zipper stop. I had to cut the lace flower overlay off the edges first and then cut the lace dress itself, all the way down along the sides to match the new zipper length.
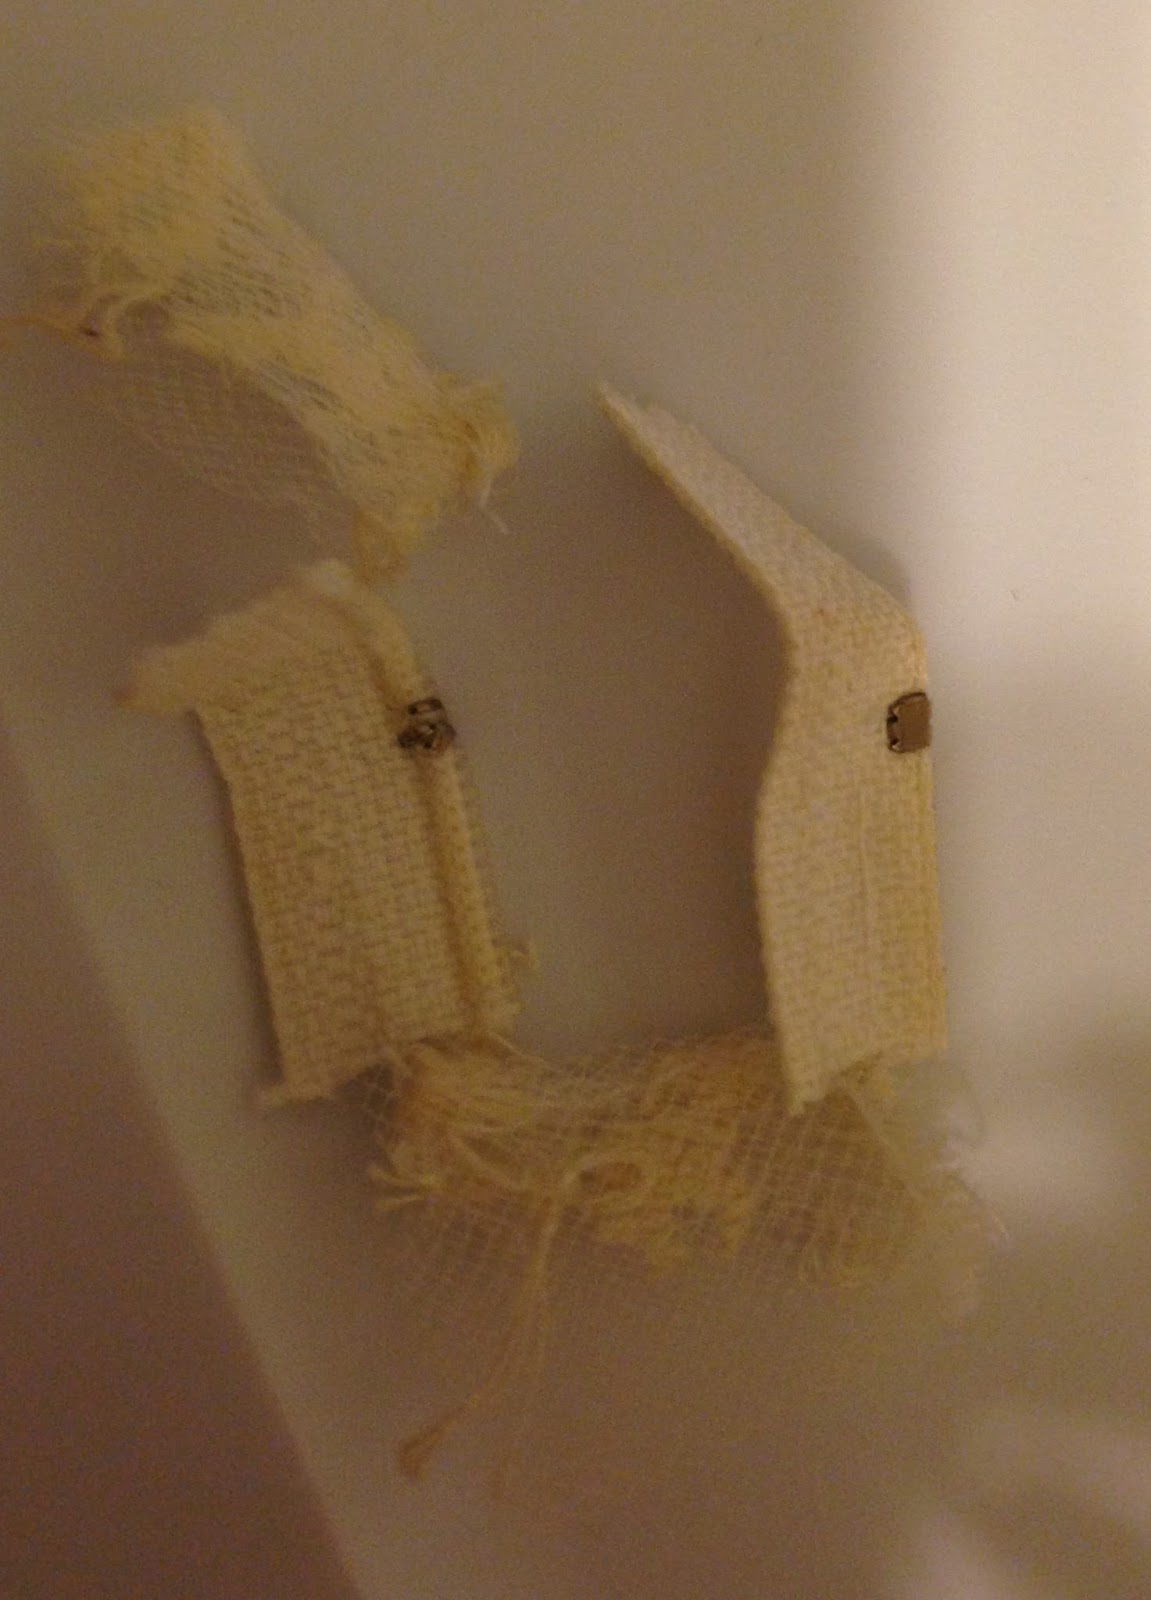
So I cut off the zipper. I had to be completely confident before making this move! I had made my zipper stop first so the zipper wouldn't come flying off the end. Now to hand-stitch the lace flowers back over the edges.
I carefully hand stitched the lace back over the cut edges.Perfect!! Such a relief.
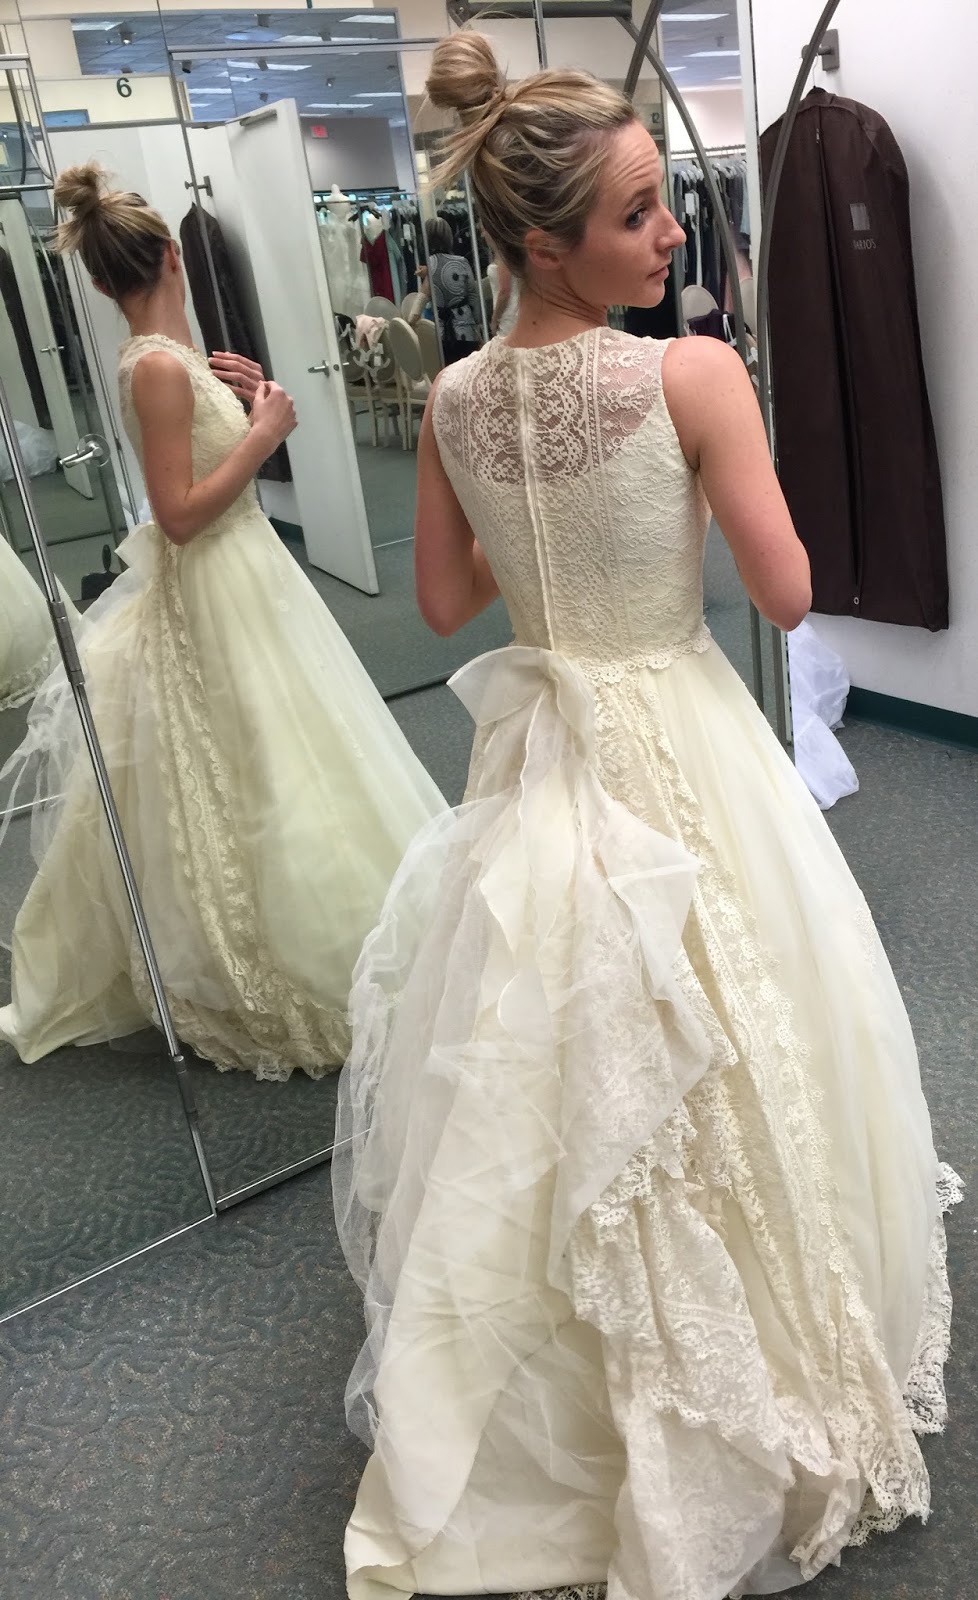
Now to fix the bustle. I added two extra buttons, one on each side of the original button. I then made two woven thread loops for the extra buttons.
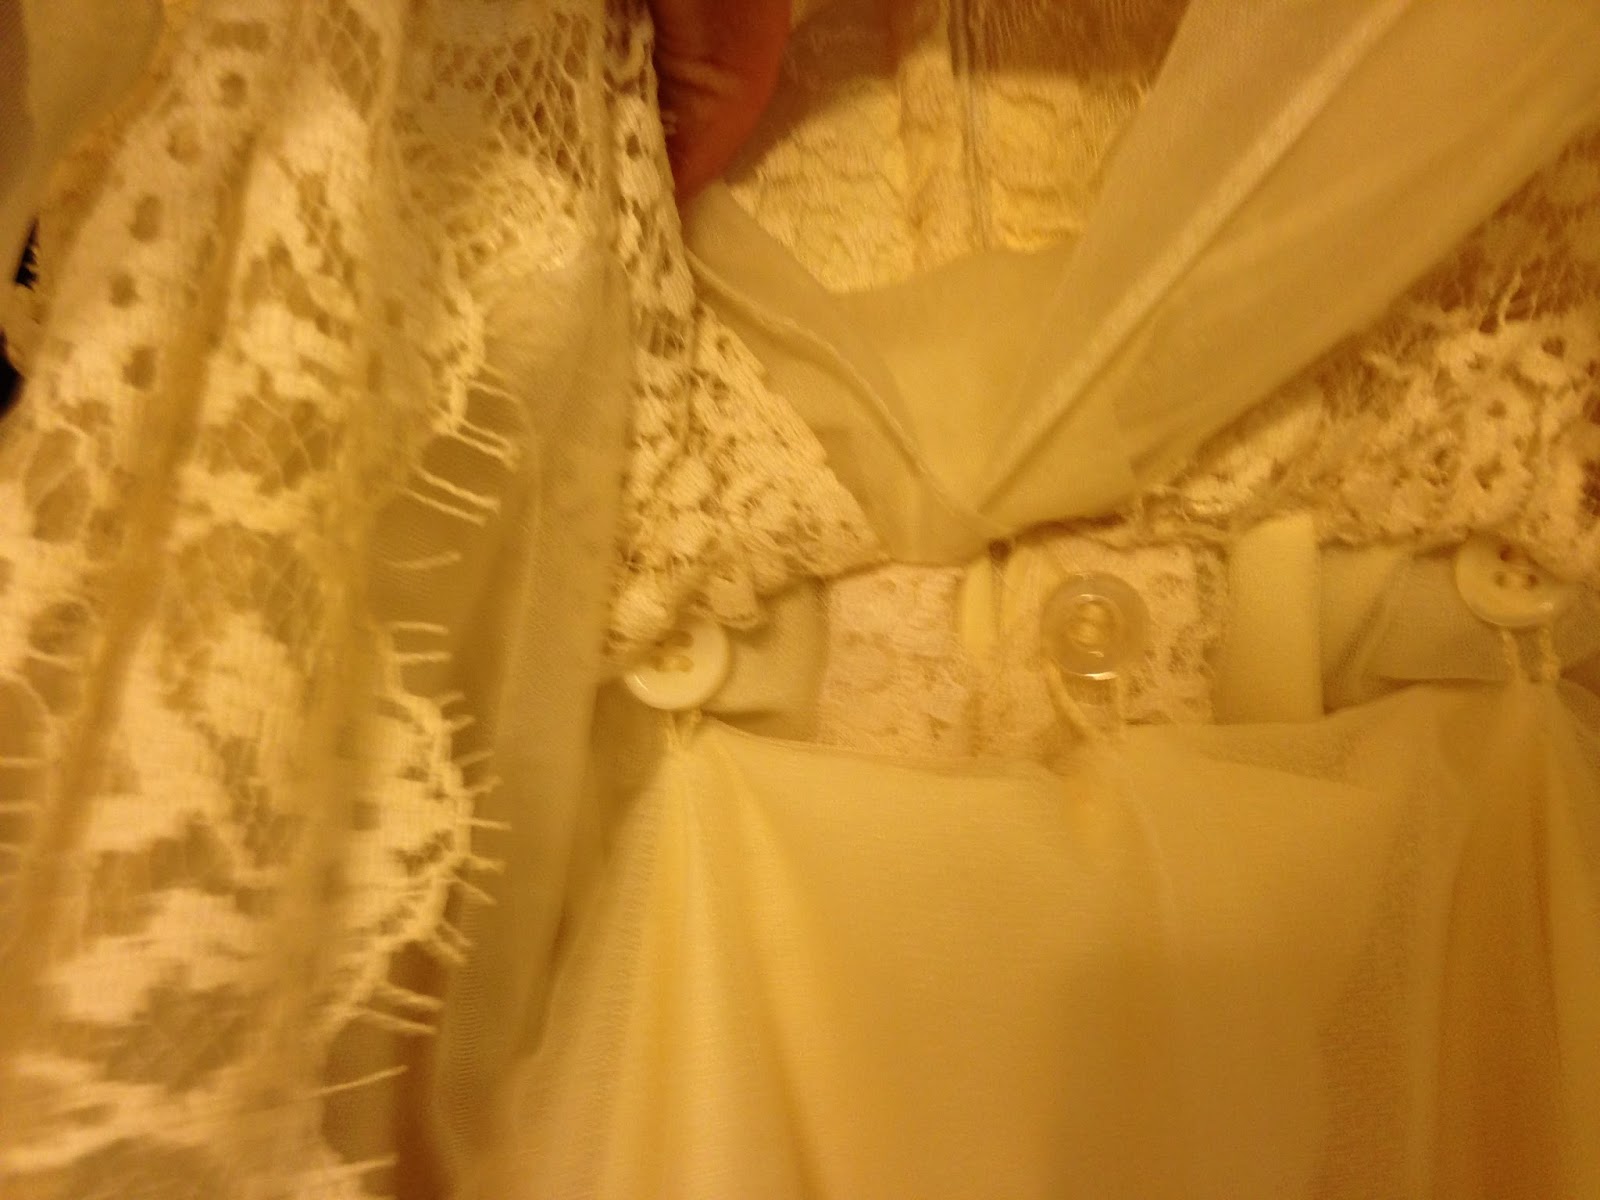
Perfect!
Now to fix the length. There is a lace overlay over the skirt underneath. I didn't want to cut any length in case this dress was to be handed down to anyone else. So I simply lifted the lace up and over, leaving the extra lace in the back, pinned it down and stitched that in place.

I then folded the underskirt and made a new seam to match the lace length. If anyone wanted to take out the stitching, it would be easy to do because I had used a pretty large stitch.
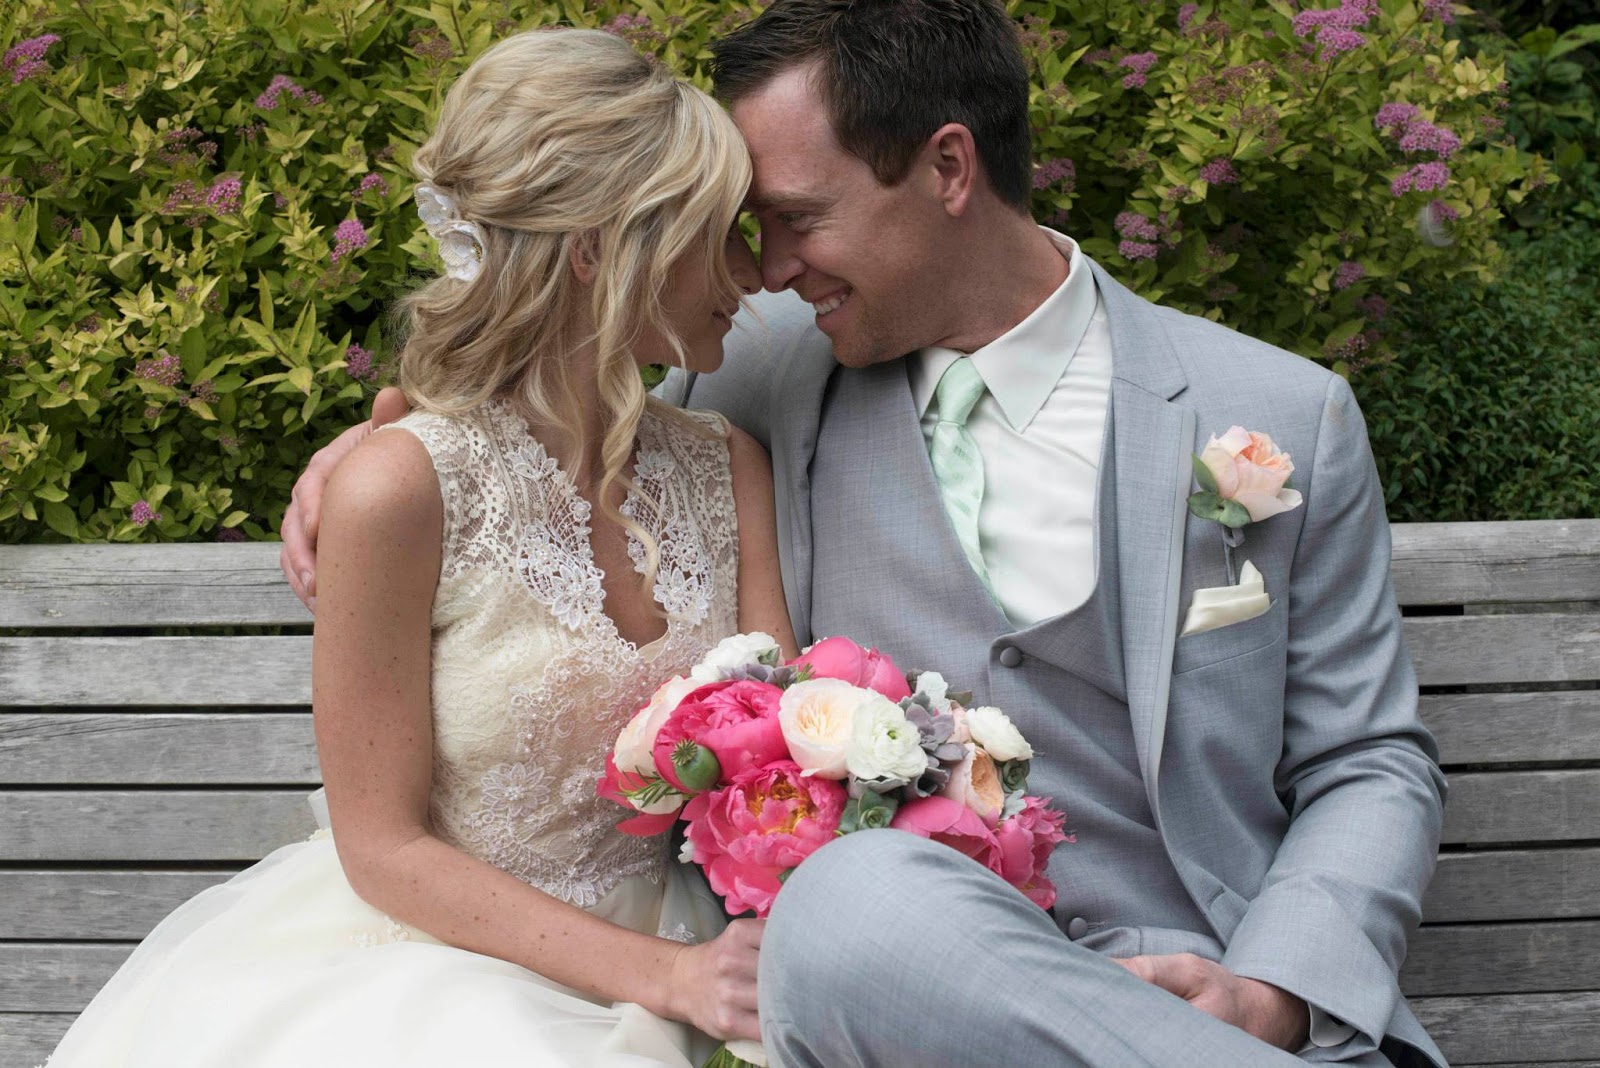
I think I may be done! What a difference from that first picture!

I am so excited to give this to her! She still has to get it dry cleaned, (which turned into a semi-nightmare for her) but my job was done.
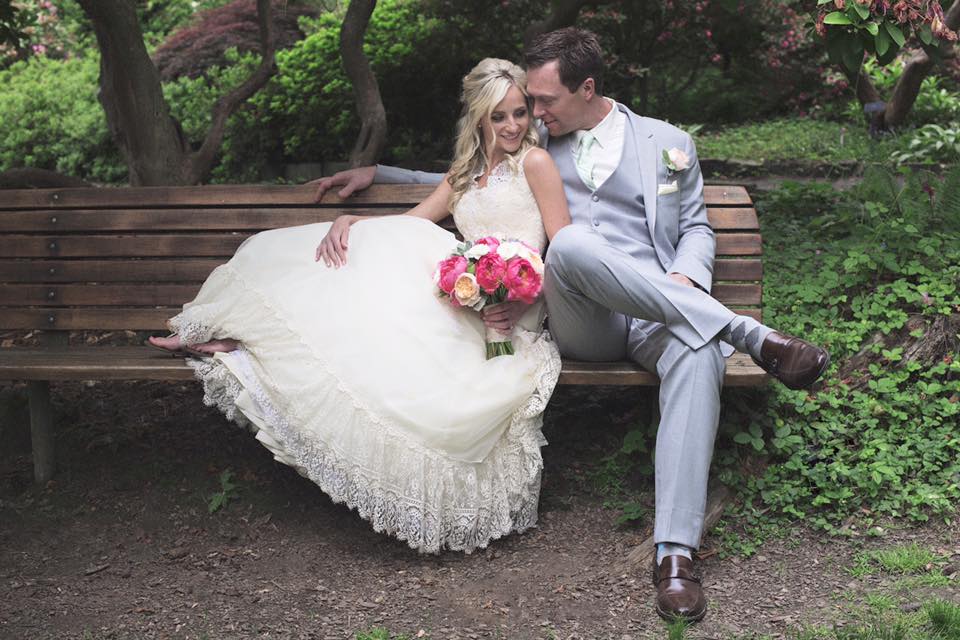
She and her fiance planned a surprise wedding for her family. People were invited to a dinner party that they thought was an engagement party. It actually turned out to be their wedding! Such a fun day for everyone! I feel so honored to have been a part of this for her.
~Lorna~
~Lorna~
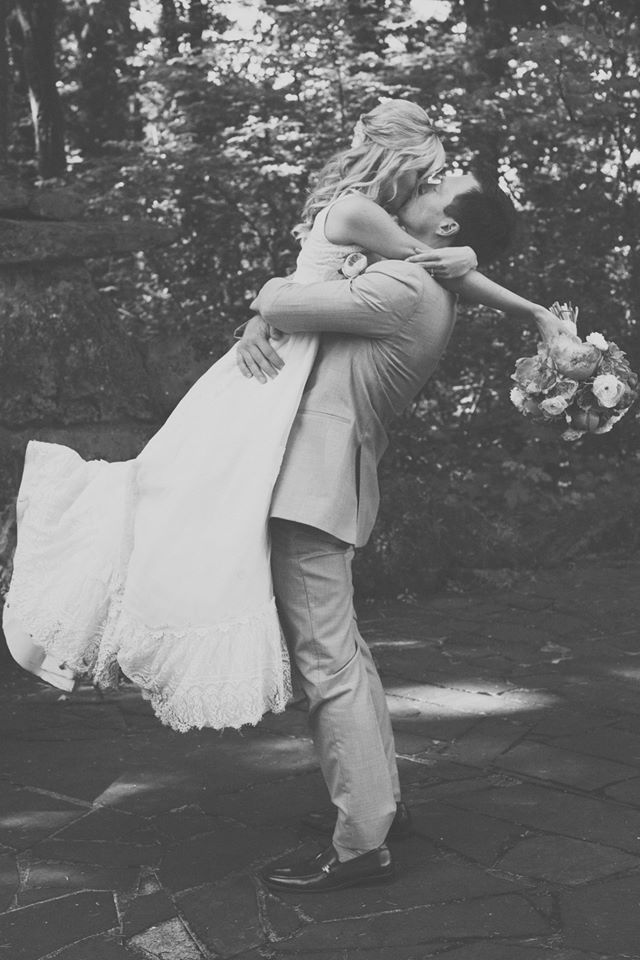
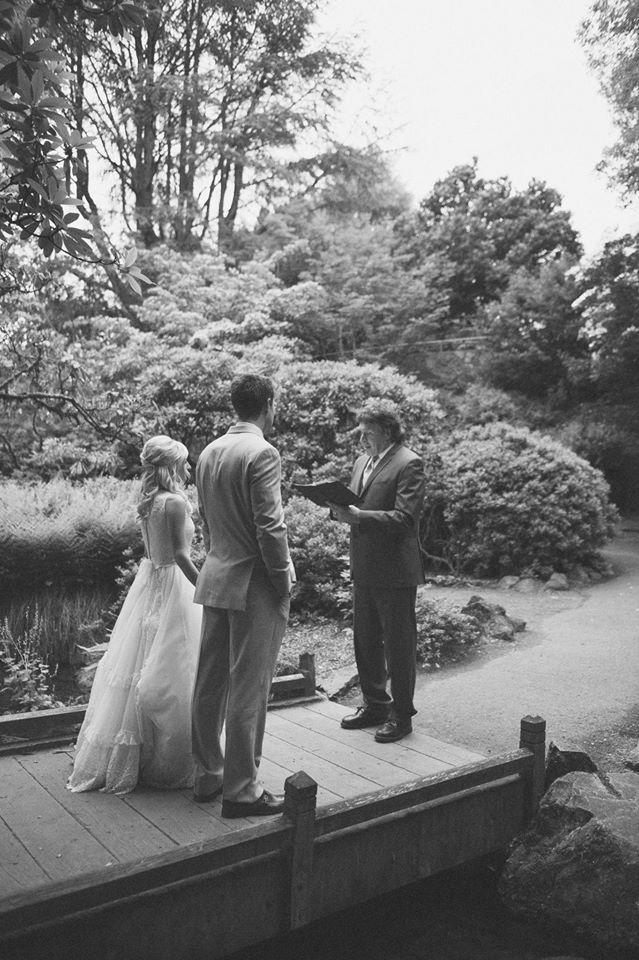
Here are some pictures of her special day!


Comments